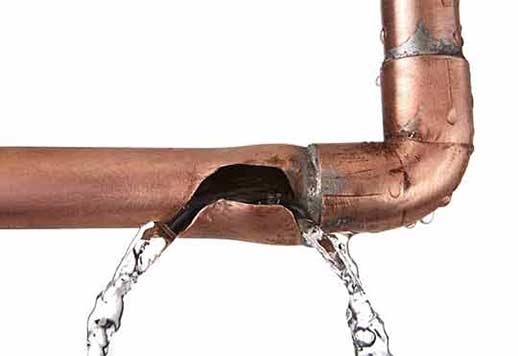
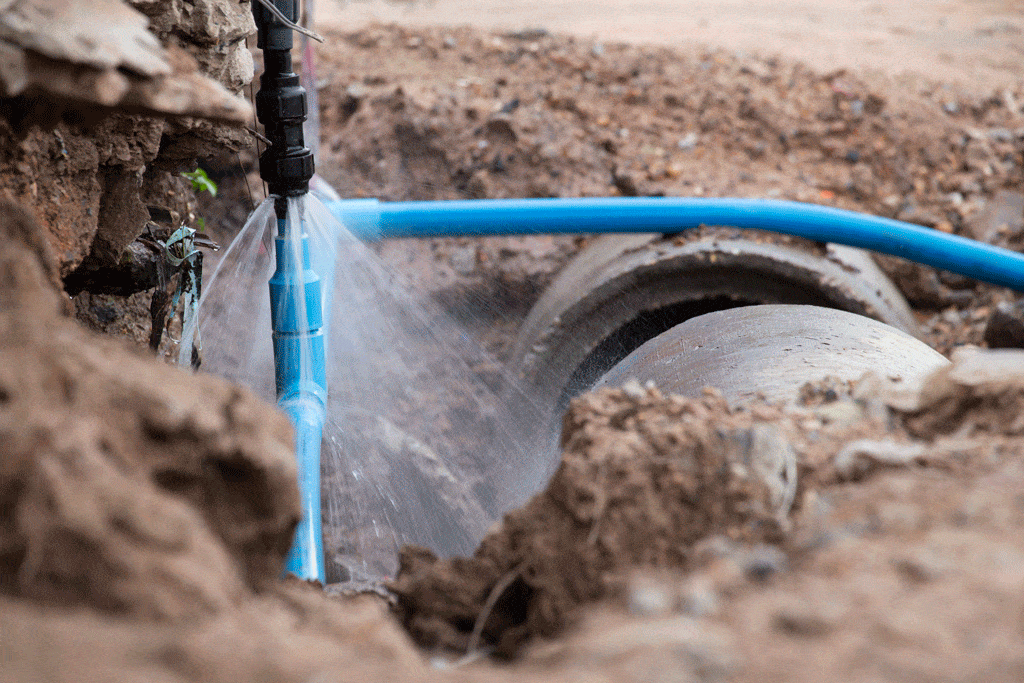
A broken pipe can cause significant inconvenience and damage, but with the right knowledge and tools, you can fix it quickly and effectively. This guide will walk you through the steps of repairing a broken pipe, from initial preparation to different repair methods. We’ll also discuss how to address water damage and prevent future pipe bursts.
How to repair a broken pipe
1. Push-Connect Fitting (Top Recommendation):
Push-connect fittings are ideal for repairing broken pipes as they are easy to use and provide a durable solution. These fittings do not require any special tools and can be installed quickly.
Step-by-Step Guide:
- Cut out the damaged section of the pipe using a pipe cutter or hacksaw.
- Clean the ends of the pipe to ensure a secure connection.
- Insert the push-connect fitting onto the clean pipe ends.
- Ensure the fitting is securely in place, then turn the water supply back on to check for leaks.
2. Silicone Tape (Fast but Temporary):
Silicone tape is a quick, temporary solution for small leaks. It’s useful in emergencies when you need a fast fix before implementing a more permanent repair.
Step-by-Step Guide:
- Clean the area around the leak to ensure proper adhesion.
- Stretch the silicone tape and wrap it tightly around the damaged area, overlapping each layer.
- Continue wrapping until the leak is sealed.
- Turn the water supply back on and check for leaks.
3. Hose Clamp or C-Clamp (Easy and Affordable):
Using a hose clamp or C-clamp is an affordable and simple way to temporarily fix a broken pipe. This method is particularly useful for larger cracks or breaks.
Step-by-Step Guide:
- Place a rubber patch over the leak.
- Secure the patch with a hose clamp or C-clamp, tightening it until the leak stops.
- Turn the water supply back on and check for leaks.
4. Epoxy Putty (Versatile and Durable):
Epoxy putty is a versatile and durable solution for sealing leaks. It hardens to form a strong bond that can withstand pressure and temperature changes.
Step-by-Step Guide:
- Clean and dry the area around the leak.
- Cut a piece of epoxy putty and knead it until it’s a uniform color.
- Apply the putty over the leak, pressing it firmly into the damaged area.
- Allow the putty to cure according to the manufacturer’s instructions.
- Turn the water supply back on and check for leaks.
5. Split-Sleeve Clamp (Pipe-Specific Fix):
A split-sleeve clamp is designed for pipe repairs and provides a reliable and permanent fix for many types of leaks.
Step-by-Step Guide:
- Clean the area around the leak.
- Place the split-sleeve clamp over the damaged section of the pipe.
- Tighten the clamp screws until the leak stops.
- Turn the water supply back on and check for leaks.
Special Cases
1. Repairing a Burst Pipe Without Replacing:
For repairing a burst pipe without replacing it, methods like epoxy putty or a split-sleeve clamp are effective.
Step-by-Step Guide:
- Turn off the water supply and drain the pipe.
- Clean and dry the damaged area.
- Apply epoxy putty or install a split-sleeve clamp over the burst section.
- Allow the putty to cure or tighten the clamp screws.
- Turn the water supply back on and check for leaks.
2. Repairing a Burst Pipe Outside:
Repairing a burst pipe outside requires dealing with weather conditions and accessibility issues.
Step-by-Step Guide:
- Turn off the water supply and locate the leak.
- Clear any debris or obstructions around the pipe.
- Use epoxy putty or a split-sleeve clamp to repair the burst section.
- Allow the putty to cure or tighten the clamp screws.
- Turn the water supply back on and check for leaks.
3. Repairing a Burst Water Pipe:
Repairing a burst water pipe involves careful handling to avoid further damage.
Step-by-Step Guide:
- Turn off the water supply and drain the pipe.
- Clean and dry the damaged area.
- Use epoxy putty or a split-sleeve clamp to repair the burst section.
- Allow the putty to cure or tighten the clamp screws.
- Turn the water supply back on and check for leaks.
Addressing Water Damage
Water damage can be a significant consequence of broken pipes. Addressing it promptly is essential to prevent further issues.
Immediate Actions:
- Remove excess water using a wet/dry vacuum or towels.
- Use fans and dehumidifiers to dry the affected area.
- Inspect for mold or mildew and clean as needed.
Long-Term Solutions:
- Repair any structural damage caused by water.
- Replace damaged insulation or drywall.
- Consider installing a sump pump or backflow preventer to protect against future water damage.
Preventing Future Pipe Bursts
Preventing pipe bursts involves regular maintenance and proactive measures.
1. Regular Maintenance Tips:
- Inspect pipes regularly for signs of wear or damage.
- Replace old or corroded pipes.
- Keep an eye on water pressure and address any issues promptly.
2. Insulating Pipes:
- Insulate pipes in unheated areas to prevent freezing during cold weather.
- Use pipe insulation sleeves or heat tape for added protection.
3. Monitoring Water Pressure:
- Install a water pressure gauge to monitor pressure levels.
- Adjust the pressure regulator as needed to maintain safe pressure levels.
Preliminary Steps
1. Turning Off the Water Supply:
The first and most crucial step is to turn off the water supply to prevent further leakage and damage. Locate the main water shut-off valve in your home and turn it off. If you’re unsure where it is, look in the basement, crawl space, or near your water meter.
2. Locating the Leak:
Once the water is turned off, identify the exact location of the leak. This might require inspecting visible pipes or feeling for wet spots along walls, floors, or ceilings. For underground or hidden pipes, you may need a pipe locator tool.
3. Assessing the Damage:
Evaluate the extent of the damage. Determine whether the pipe has a small crack, a significant break, or if it has completely burst. This assessment will help you choose the most appropriate repair method.
Tools and Materials Needed

To successfully repair a broken pipe, you’ll need the following tools and materials:
- Pipe cutter or hacksaw
- Silicone tape
- Epoxy putty
- Hose clamp or C-clamp
- Split-sleeve clamp
- Cleaning materials (rags, sandpaper)
Conclusion
Repairing a broken pipe can seem daunting, but with the right steps and tools, it’s a manageable task. By following this comprehensive guide, you can effectively address leaks and prevent further damage. Remember, while DIY repairs are often sufficient, consulting a professional is always a good idea if you’re unsure about any part of the process. At Pro Drain Tech, we pride ourselves on providing safe, fast, and efficient plumbing solutions. For expert assistance, don’t hesitate to reach out to us for reliable service.

